

In a Nutshell
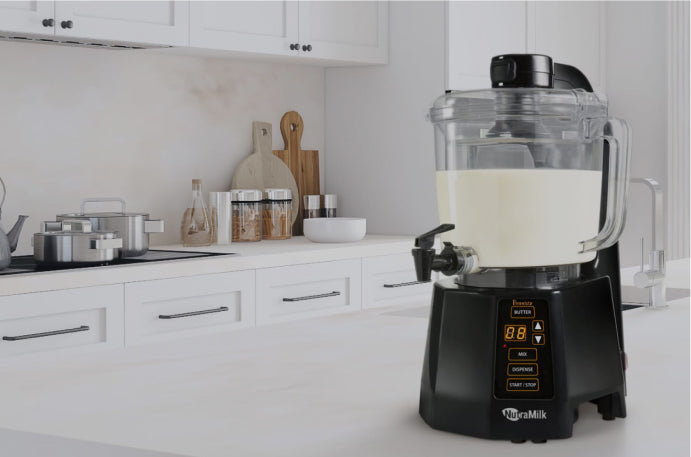
Our recipes, diet, health, wellness and fitness blogazine, where we bring you weekly advice, ideas and inspiration for living a healthier lifestyle and your NutraMilk processor.


Images and recipe by Alphafoodie
*Servings 12
*Prep time 15 minutes
*Freeze time 4 hours
*Total time 4 hours 15 minutes
-
1 cup raw almonds
- 5 medjool dates
- 1/3 cup oat flour
- 2 tbsp. cacao powder
- 1/4 tsp salt

For the Blueberry layer:
- 1.5 cups cashews
- 1 cup plant based milk (I used oat milk)
- 1 cup frozen blueberries
- 1/3 cup coconut oil
- 2 tbsp maple syrup
- butterfly pea flower (totally optional, just to intensify the color)

For the Raspberry layer:
- 1 cup cashews
- 1 cup frozen raspberries
- 1/2 cup plant based milk (more if needed)
- optional additives: vanilla or sweetener

INSTRUCTIONS
To make the base:
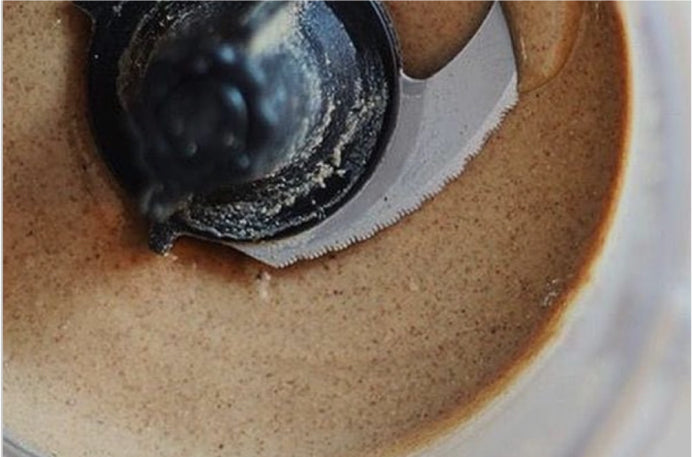
- Blitz the almonds to in the Nutramilk processor until you achieve a fine crumb.
- Add the rest of the ingredients and blend until you obtain a uniform sticky mixture. You can test the stickiness of the crust by pinching some in your hands. If it holds its' shape then it's ready, if not then add an extra date or 1 tbsp. of coconut oil (You can also pre-soak the dates in hot water for 10-15 minutes pre-blending and that will help increase their stickiness).


- Add the crust dough to a bread loaf tin (about 9" x 5"/22 cm x 12 cm). Spread it evenly on the whole surface and press it down to level it.


- Freeze the base while you prepare the next layer.

To make the blueberry Layer:
- Blend the cashews in the food processor/blender to make sure they are fully processed/pulverized. When ready, it'll look like a thick paste.
- Add in the rest of the ingredients for the blueberry layer and blitz again until they are well incorporated and you have a uniform, creamy mixture. I always run a spoon through it to check as sometimes it can look super creamy but still have larger chunks of cashew inside (I recommend tasting the mixture and adjusting the sweetness to your liking. I have previously made this recipe using coconut cream instead of my homemade oat milk. However, as the cashews already make the recipe very rich, I found it to be a bit too decadent. coconut milk could work though).

- Pour the blueberry mixture over the chilled crust and place back in the freezer. It will need around two hours to fully set - However, you just need it to be solid enough so the final layer can be poured on top without them mixing.


- It's also a good idea to tap the tin lightly against the tables' surface to release any bubbles inside. I didn't do this and it's not a massive deal - perhaps just for perfectionists.

To make the Raspberry Layer:
Blend the cashews in the food processor/blender.
Add the rest of the ingredients and blend again until you get a uniform mixture (Note: I prefer keeping the raspberry mixture more on the sour side. If you prefer it sweeter, then add some maple syrup or your favorite natural sweetener).


Pour the raspberry mixture over the hardened blueberry layer. You can also add some wild blueberries or your favorite fruit/sprinkles as toppings.

Freeze for at least 3-4 hours. For best results, keep in the freezer overnight.
Decoration:
- Add some wild blueberries or your favorite fruit/sprinkles as toppings.


Enjoy!

See ful recipe and tips here: https://www.alphafoodie.com/raw-vegan-berry-cheesecake-slices/