

The Nutramilk Blogazine
In a Nutshell
Our recipes, diet, health, wellness and fitness blogazine, where we bring you weekly advice, ideas and inspiration for living a healthier lifestyle and your NutraMilk processor.


Images and recipe by Alphafoodie
*Servings 15 chocolates
*Total Time 15 minutes
INGREDIENTS
- 1 cup pre-soaked cashew nuts could try sunflower seeds for nut-free version
- 1/4 cup unsweetened cocoa powder
- 1/4 cup maple syrup or other liquid sweetener
- 1/4 nut butter of choice or seed butter
- 1/2 tsp ginger powder
- 1/4 tsp cinnamon powder
- pinch of salt
- 1/2 cup dark chocolate for melting pre-tempered if possible. Or milk choc, if preferred


INSTRUCTIONS
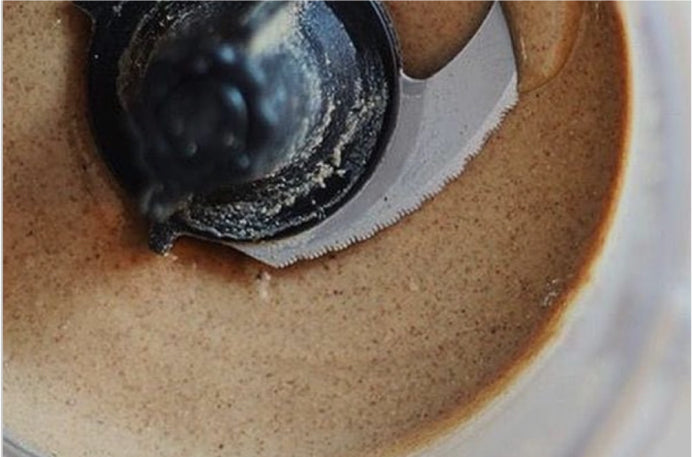
Step 1: Prepare the spiced cashew cocoa filling.
-
Blend the cashews into a slightly chunky paste before adding the remainder of the ingredients and blending until smooth. Try the filling and add more spices if preferred.

-
Then, transfer the filling to a piping bag. I like to do this by placing the piping bag with a tall glass and folding it over the glass rim, then using a silicone spatula to press the filling down into the bag.


Step 2: Melt the chocolate.
- If you're using silicone molds and aren't worried about tempering the chocolate for a nice, shiny shell, simply melt your chocolate either in the microwave or with a double boiler method (bain-marie).
- If you use the microwave, melt it in spurts of 10-15 seconds, stir and repeat until it's almost melted. It will continue to melt without the heat, as you stir the chocolate.
- For a double-boiler, place the chocolate in a bowl over a pan on simmering water – make sure the water isn't touching the bottom of the bowl. Stir until the chocolate has melted – but be careful not to get ANY water in the chocolate, or it can cause it to seize.
- If I want to have tempered chocolate, then I find it easiest to use pre-tempered chocolate and heat it in the microwave, making sure that it doesn't go over the temperature required to break the temper. For milk chocolate, that's 84-86°F/28-30ºC, and for dark chocolate, that's 88-90°F/31-32ºC.

Step 3: Create the molded candy chocolate shells
- I used a small heart-shaped mold this time and suggest using similar fairly small 1-2 bite-sized molds.
- Pour a layer of chocolate into the silicone mold, swirling it around to cover all surfaces.
- Alternatively, you can melt enough chocolate to fill all of the molds, then turn the mold over onto parchment paper, allowing all the excess to fall out. When using this method, one go is usually enough.
- I left mine fairly messy on top of the mold, though it can be handy to use a bench scraper or similar tool to scrape away any excess chocolate before it goes in the freezer.
- Place the mold in the freezer for just a few minutes to allow the chocolate to harden. Then, if you think you need another layer – repeat the previous steps.

Step 4: Fill and top the Chocolate Candy
- Pipe the cacao cashew mix into the chocolate molds. Don't fill it all the way to the top, as you'll be pouring more chocolate over the top.
- If your piping bag created a little 'peak' at the top of the filling, you could use a damp finger to just press them down into the mold.
- Cover the remainder of the mold with more chocolate and allow the vegan chocolate candy to set in the fridge/freezer (usually 10-15 minutes).
-
For more precise chocolate bonbons, you can once again use a bench scraper to create very neat edges and get rid of any excess chocolate on top of the mold.
-
Once the filled chocolates have hardened/set, enjoy them immediately or store them for later!


To Store:
- Store these homemade chocolates in an airtight container in the refrigerator for up to 2 weeks (with the nut chocolate filling). The fillings you use will vary the shelf life, and some may last months at room temperature.
- You can also store the vegan chocolate candy in the freezer for 2-3 months. Allow them to thaw in the refrigerator before eating.

See full details and tips at Homemade Filled Chocolates (Vegan Chocolate Candy) - Alphafoodie