

The Nutramilk Blogazine
In a Nutshell
Our recipes, diet, health, wellness and fitness blogazine, where we bring you weekly advice, ideas and inspiration for living a healthier lifestyle and your NutraMilk processor.

 Chocolate is always a classic for Valentines- plus a little pink to decorate your nut butter cookies and you have a great recipe to surprise your loved ones on valentines. Enjoy!
INGREDIENTS

For nut butter cookies
- 1 cup creamy almond butter made in the NutraMilk
- 1/2 cup dark brown sugar or coconut sugar
- 1 large egg
- 1/2 cup 1:1 gluten free baking flour
- 1/4 tsp salt
For almond butter
- 2 cups (300g) almonds
- 1/8 teaspoon Pink Himalayan salt (optional)
For icing
- 2 cups organic confectioners sugar, divided
- 2 tsp almond milk, divided
- 1 tbsp. coco powder
- 1 tsp beet powder

INSTRUCTIONS
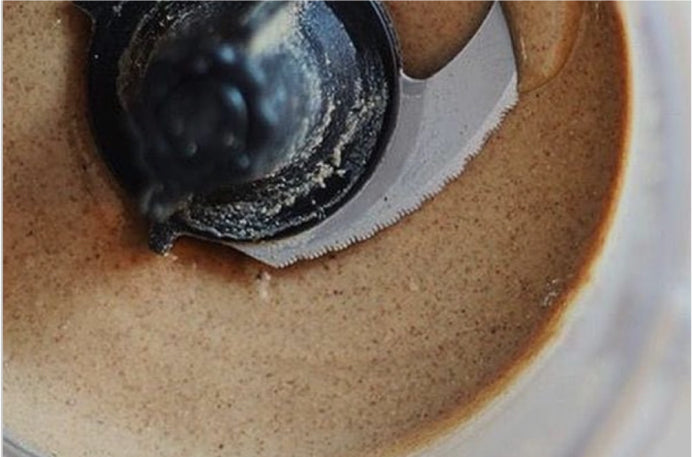
- Making almond butter
- Place almond and salt in the NutraMilk container.
- Press Butter cycle, set for 12-13 minutes.
- Press Start.
- Open the container lid.
- If necessary, set for an additional 1-2 minutes for a creamier butter.
- Preheat oven to 350ºF and line large baking sheet with parchment paper.
- In large bowl using electric mixer, mix together almond butter and sugar until combined – about 1 minute. Add in large egg and vanilla mixing on low speed until combined. Add flour and salt mixing on low to medium speed until fully combined. Dough should be soft and easily scoopable.

- Using a slightly rounded tablespoon, scoop dough and roll into palm of hands. Use a cook large fork and press into dough balls to make criss cross pattern or you can use a cookie cutter to place dough in side and press on to sides to get a nice round shape. Bake cookies for 7-9 minutes. Allow cookies to set on baking sheet for 2 minutes before transferring to wire rack to cool completely.

- In 2 separate bowls divided the powdered sugar, almond milk, and add beet powder to one and coco powder to the other.
- Whisk until smooth. Add more almond milk as needed to achieve desired consistency.
- Using a spatula or the back of a spoon, spread a thin layer of icing onto the FLAT SIDE, the former bottom, of each cookie. If you add to the tops, no worries!
- Return the cookies to the wire rack to dry. Enjoy once dry!